Happy Hump Day!!
Monday marked my first day of my paleo nutrition challenge. Woah Woah Woah
I’ve eaten mostly paleo for a few years now, I’d say about 80%. I love it, I think its a super healthy way to eat, but I’ve always allowed myself a little bit of leaway to enjoy some grains here and there, some pizza once a week, and the occasional bit of white sugar.
Since I’ve had Piper though the little bit of leaway has turned into a whole lot of leeway. I’ve rewarded myself with more treats and I’ve gone from eating 1 cookie a week to 1 cookie or more a day. No bueno. In an effort to kick that shit and reset my healthy eating I’ve embarked on a nutrition challenge. Eating pretty strict for a couple weeks and then slowly allowing some grains and sweetners (non white sugar) and maintaining like this for 30 days or so.
I quickly realized though that moms need grab and go snacks. Sometimes we don’t have time for a whole meal as we run in between appointments, feedings, and playdates. Its nice to have a healthy snack to keep our energy up and prevent us from getting too hungry. I don’t know about you, but when I get super hungry I always make poor food choices.
Enter Lara Bars. As far as packaged food goes they do a great job of being a clean bar with just a few ingredients. I love them and always keep a few in my purse. They can get kind of price though at $1-$1.50/bar and I kept hearing of people making their own so in an effort to not get left behind I jumped on the bandwagon.
Banana Bread Lara Bars
Ok first off, when you hear banana bread doesn’t your mouth just water? I freakin love it! In fact my favorite banana bread recipe is pretty healthy, you should check it out.
These lara bars legit taste like banana bread and even my PICKY husband who doesn’t like banana bread thought they were good (that’s saying something)!
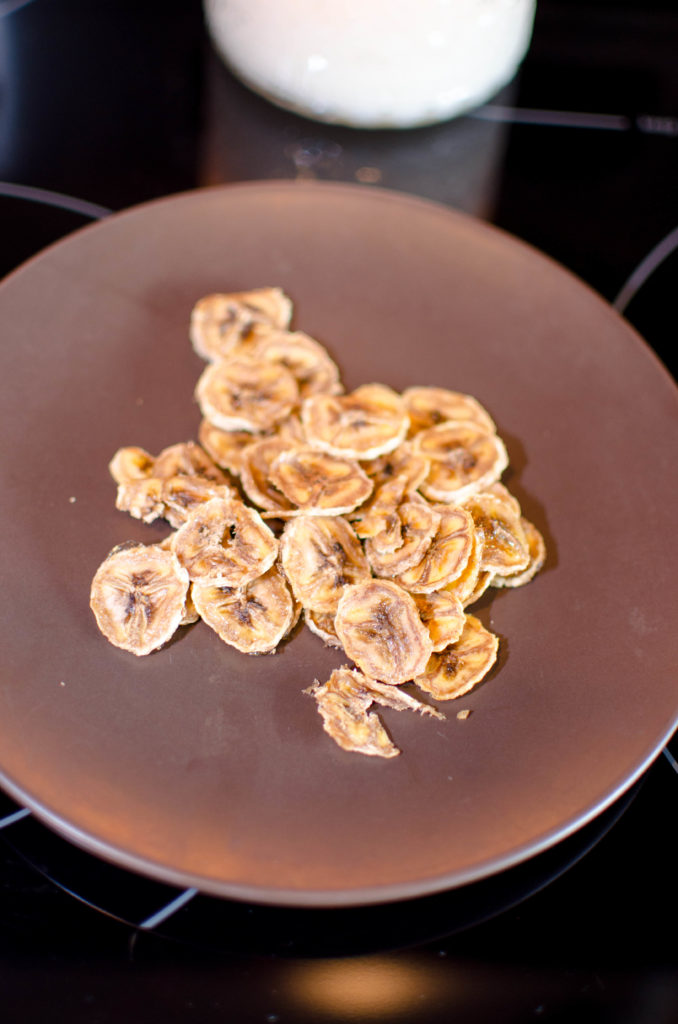
First up, you need some banana chips
You can buy these, but they are super easy to make on your own. Just thinly slice a banana, drop it on a cookie sheet and bake for about 2 hours (you’ll know its done when they are pretty dried out, not mushy at all, and kind of sad looking). I HIGHLY recommend placing some parchment paper down, without it the bananas are pretty tough to get off (not impossible, just spray the shit out of your pan with coconut oil, mine turned out fine without the paper).
Like I said, they are pretty sad looking when they are done
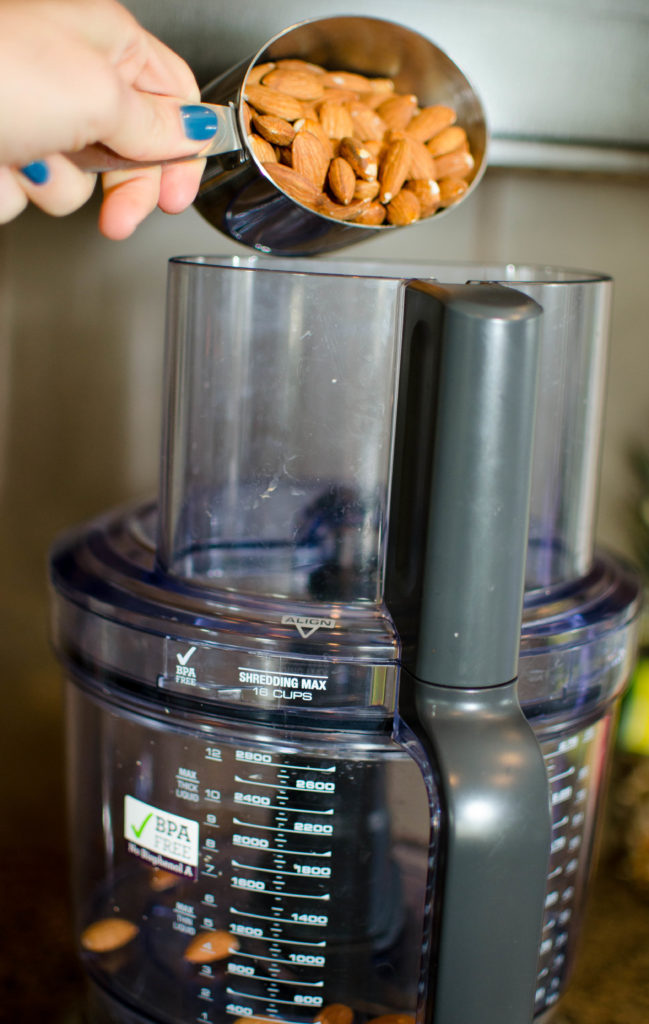
Next up, grab your food processor and chop up banana pieces and almonds
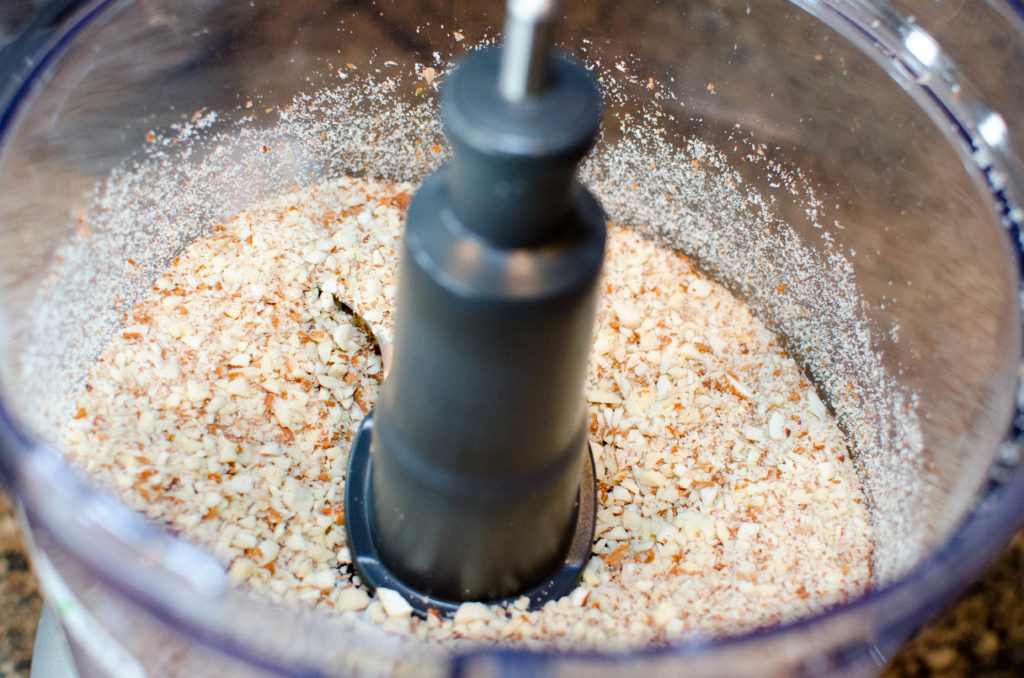
Grind them so the big chunks are gone, but you don’t want them just just be a powder, some chunks are good for these bars. Kind of like this
Once the nuts are chopped you can add your pitted dates to the food processor. I had never cooked with dates before so for all you newbies out there you can find them in the grocery store by the bananas. You’ll need about 10-12 dates. Make sure to get the pit out, I missed one and my food processor got all pissed about it.
With the dates in the food processor pulse the mixture until a ball starts to form. It will begin to look all pretty like this:
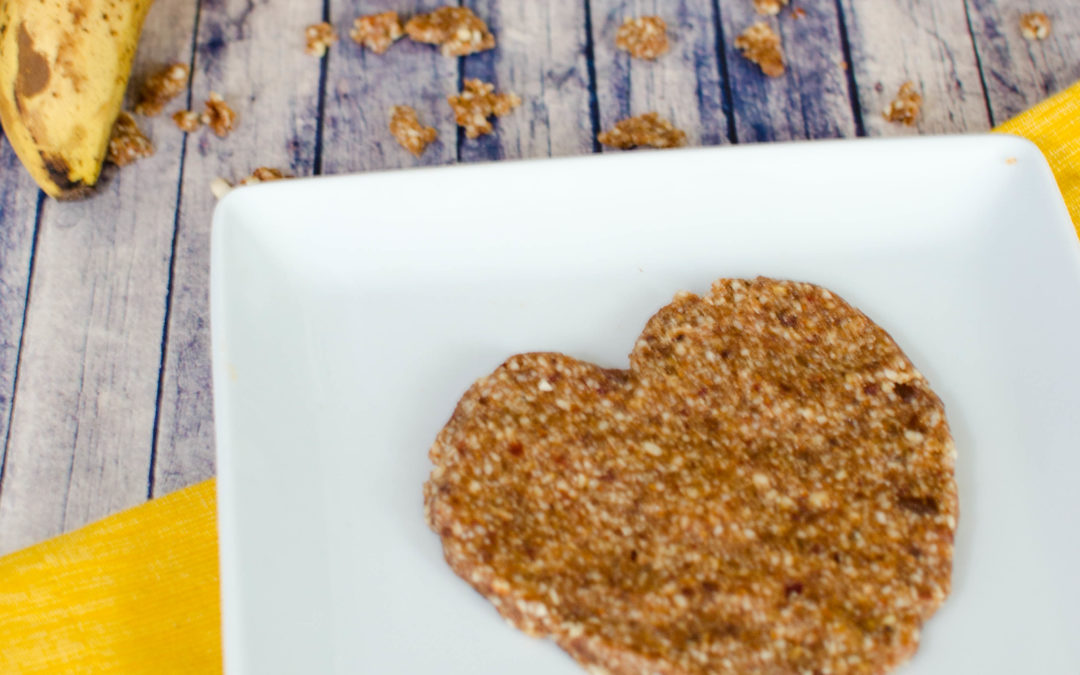
Once your ball is formed you can remove the mixture from the food processor and spread it onto saran wrap. Make sure you get the thickness of the bars what you want them to be, you can’t really change this later. You can also get creative and make mini balls or patties. The world is your oyster here.
OR
Once you have the mixture spread onto saran wrap, cover it completely and freeze for 1 hour to let it get set up (if you rolled it into balls just put each ball on a cookie sheet and refrigerate for 2 hours).
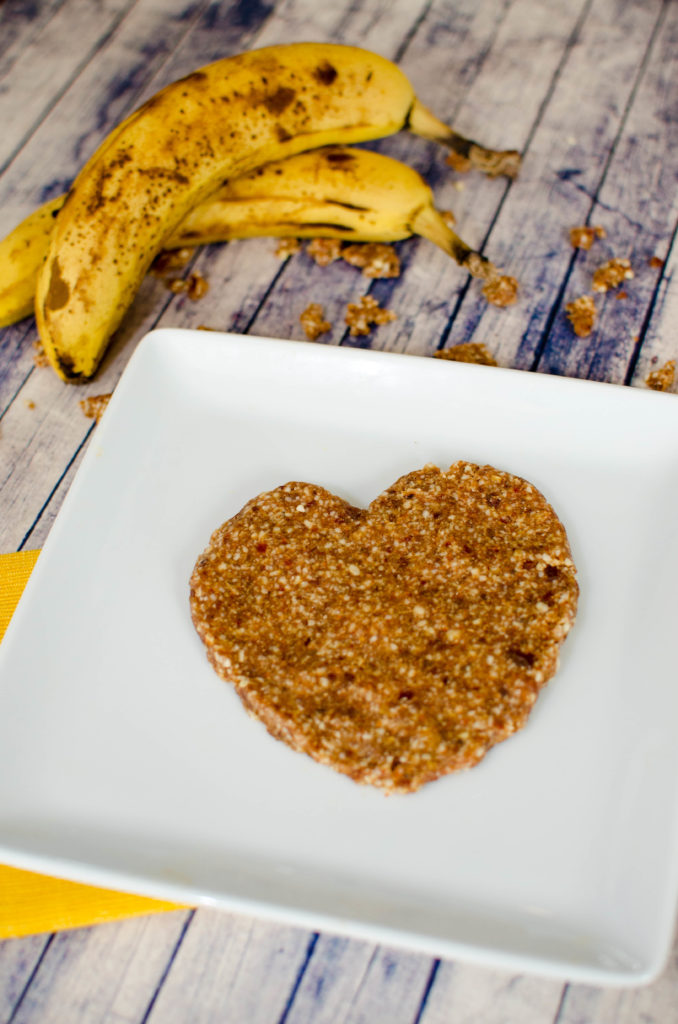
After they have had time to set up, they are done and ready to eat. Easy peasy
What should I make next?
In the comments below I’d love some ideas of the types of food you’d love for me to create for you next. Do you want snacks? Lunches? More dinners? Tell me in the comments below and I just might make your dish next!
- 1 Banana
- 2 Cups Almonds
- 10-12 Dates
- Saran Wrap
- Thinly slice a banana, drop it on a cookie sheet and bake for about 2 hours
- Use your food processor to chop bananas and almonds to a fine, but slightly chunky mixture.
- Add 10-12 dates and continue to process until a ball begins to form.
- Transfer mixture from food processor to saran wrap pressing it into one large square or rolling it into balls.
- Freeze 1 hour (If you rolled into balls place balls on a cookie sheet and refrigerate 2 hours)
- Store these in the fridge for up to a week, they can be frozen if necessary.







That seemed pretty easy to do. I have some nut allergies so I would have to change this up quite a bit but it looks delicious!